Musical Instrument Box
Siqi Qian(sq85) Ke Liu(kl928)
May 18, 2020
Demonstration Video
Introduction
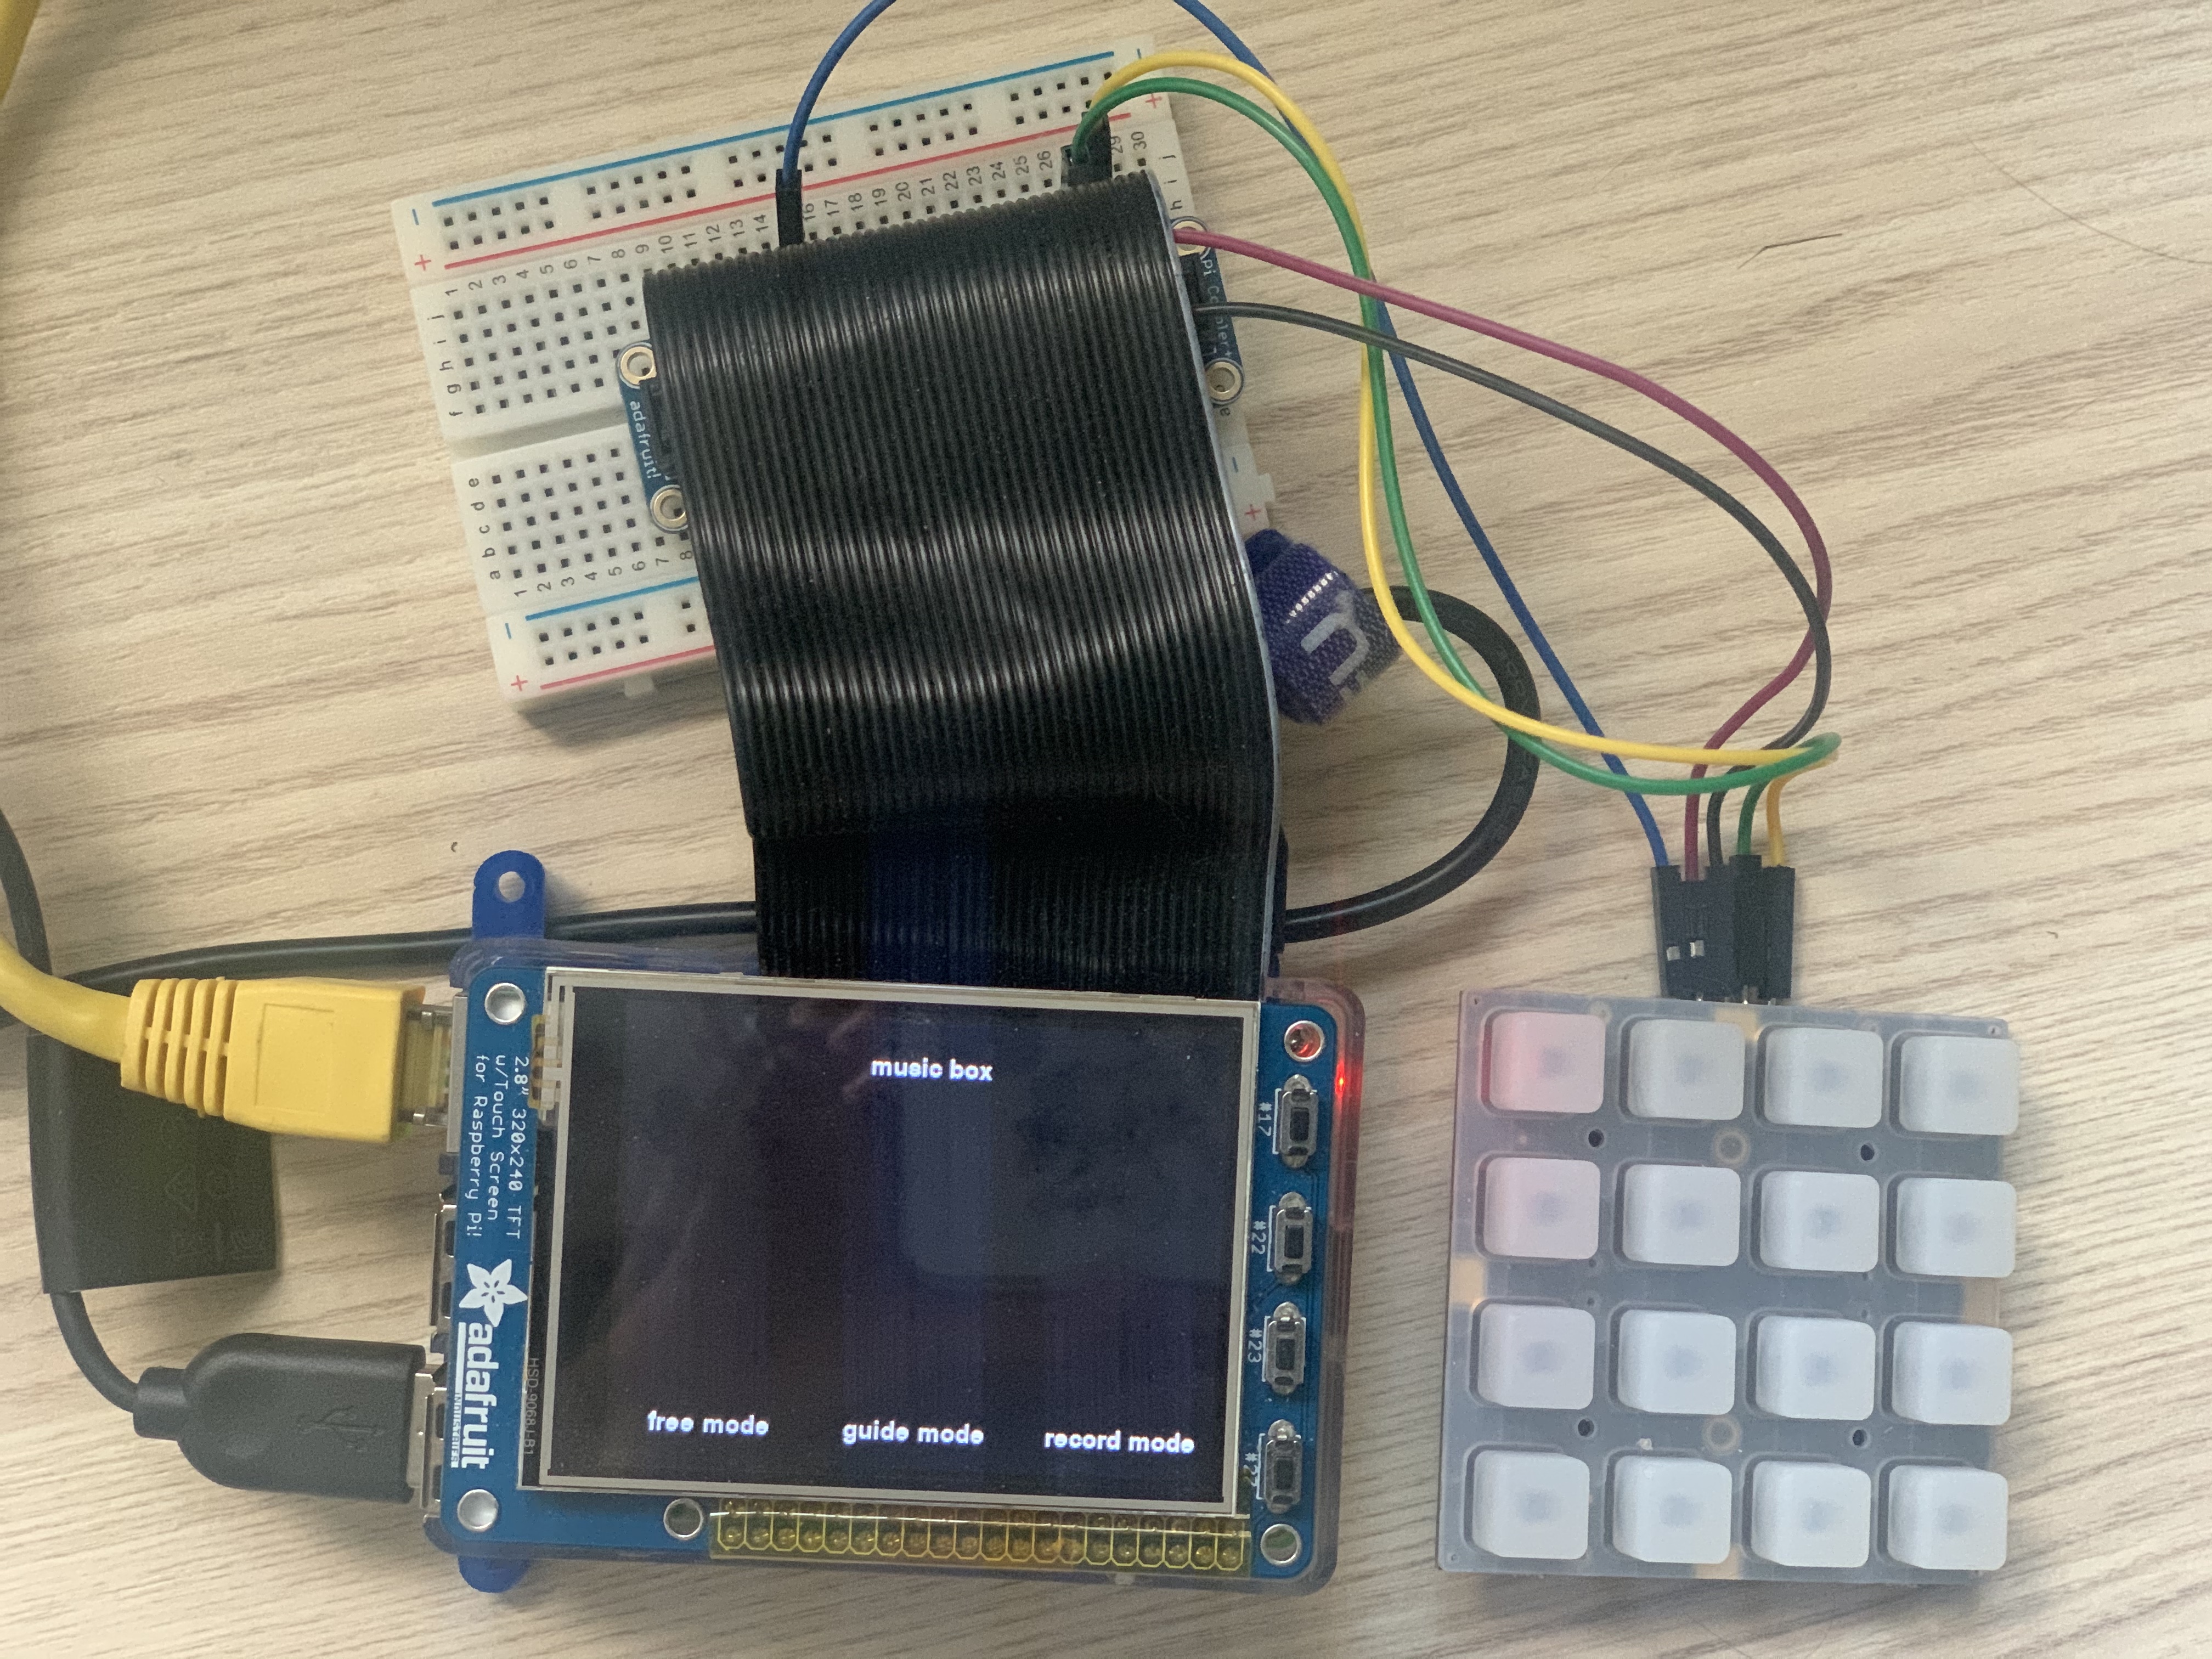
The musical instrument box is equipped with a keypad that communicates with Raspberry Pi over I2C so that users can play instrumental sounds through an external speaker by pressing the buttons, of which each button responses to a certain note. The notes list includes C4, D4, E4, F4, G4, C5, D5, E5, F5, G5, A5, B5, C6, D6, E6 both piano and guitar notes. The musical instrument box provides three modes for users, namely free mode, guide mode, and record mode. In free mode, users can play pre-set notes freely. In guide-mode, users can pick and load a song from melody lists and play the whole song by pressing buttons following the order the LEDs flash. In record mode, users can still play music just like in guide mode. The music box will record the notes and duration for each notes that the user played and make playback of what the user played.
Project Objective:
- Playing sound when detecting button press
- Picking and load a melody
- Flash buttons to indicate which button to press
- Record music played by music and playback
- Multi-thread supported media file conversion
Design
Neotrellis Setup
Our PiTFT only uses the hardware SPI pins (SCK, MOSI, MISO, CE0, CE1) as well as GPIO #25 and #24, and GPIO #17, #22, #23, #27 for the four switch locations. Our keypad uses GPIO #2 (SDA) and GPIO #3 (SCL). The detailed connection from the NeoPixels keypad board to Pi is as follows: VIN to 5V, GND to GND, SDA to I2C data SDA, SCL to I2C clock SCL as shown in Figure 1.
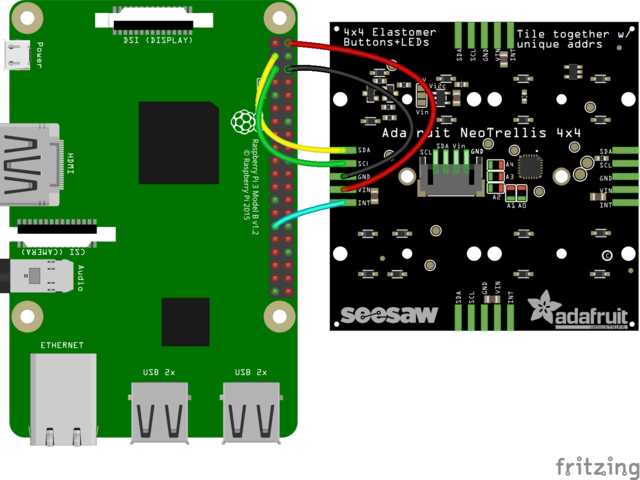
Figure 1. Raspberry Pi Connected with Keypad through I2C
NeoPixels, and the WS2811/2812 LEDs that make them up, require a data signal with very specific timing to work correctly. Because the Raspberry Pi runs a multi-tasking Linux operating system it doesn't have real-time control over its GPIO pins and can't easily drive NeoPixels. We use Adafruit’s CircuitPython NeoPixel library and Adafruit_Blinka library to control NeoPixels and WS2811/WS2812 LEDs directly from our Raspberry Pi. The Adafruit CircuitPython NeoPixel library solves the real-time control problem by using the PWM and DMA hardware on the Raspberry Pi's processor. The PWM (pulse-width modulation) module can generate a signal with a specific duty cycle, for example, to drive a servo or dim an LED. The DMA (direct memory access) module can transfer bytes of memory between parts of the processor without using the CPU. By using DMA to send a specific sequence of bytes to the PWM module, the NeoPixel data signal can be generated without being interrupted by the Raspberry Pi's operating system.
On supported GNU/Linux systems like the Raspberry Pi, we can install
the driver/library locally from PyPI. Because Linux and the software package which we want to use are updating fast,
we need to use the command sudo apt-get update to get the latest Raspbian for better compatibility.
To install software packages system-wide, we used the following commands:
% sudo pip3 install adafruit-circuitpython-neotrellis
% sudo pip3 install adafruit-blinka
After software preparation, we set up our LED keypad successfully including circuit board pin soldering, I2C communication test, keypad color LED settings. Then we started to implement our python program. In our ‘free_mode.py’, we use pygame.mixer to play instrumental sound.
To initialize the pygame mixer, we need to set a sampling rate
and a buffer size for the channels of the mixer like the following:
pygame.mixer.pre_init(44100, -16, 2, 2048)
pygame.mixer.init()
To load a music file, play it, and then stop it that we use the following:
pygame.mixer.music.load(path+filename)
pygame.mixer.music.play()
pygame.mixer.music.stop()
User Interface Design
The musical instrument box contains the main menu screen and three subscreens which navigate the user to the corresponding screen. The main screen can direct users to the three modes and all the three subscreens contain a ‘back’ button which can direct the user to the main menu screen. In all the subscreens, the left two buttons are designed for the user to choose either piano or guitar instrument by pressing corresponding buttons. When the instrument is chosen, a message will be displayed. For example, if the ‘piano’ button is pressed, a message ‘Instrument: Piano’ will be displayed in the middle of the screen. In free mode and guide mode, the user can press the third button ‘reselect’ to change the instrument if one instrument is already chosen. When the ‘reselect’ button is pressed, a warning message of ‘Select instrument’ will be displayed in the middle of the screen. Also, in both guide and record mode, there are three buttons and each button corresponds to the name of the songs from the melody list. As the button pressed, a message that indicates what song is selected will be displayed on the screen. In record mode, the third button is ‘load’. As the user finishes playing the whole song, after a few seconds for the program to process audio files, if the user presses the ‘load’ button, a message ‘loading’ will be displayed on the screen and the music box will make playback of what the user just played.
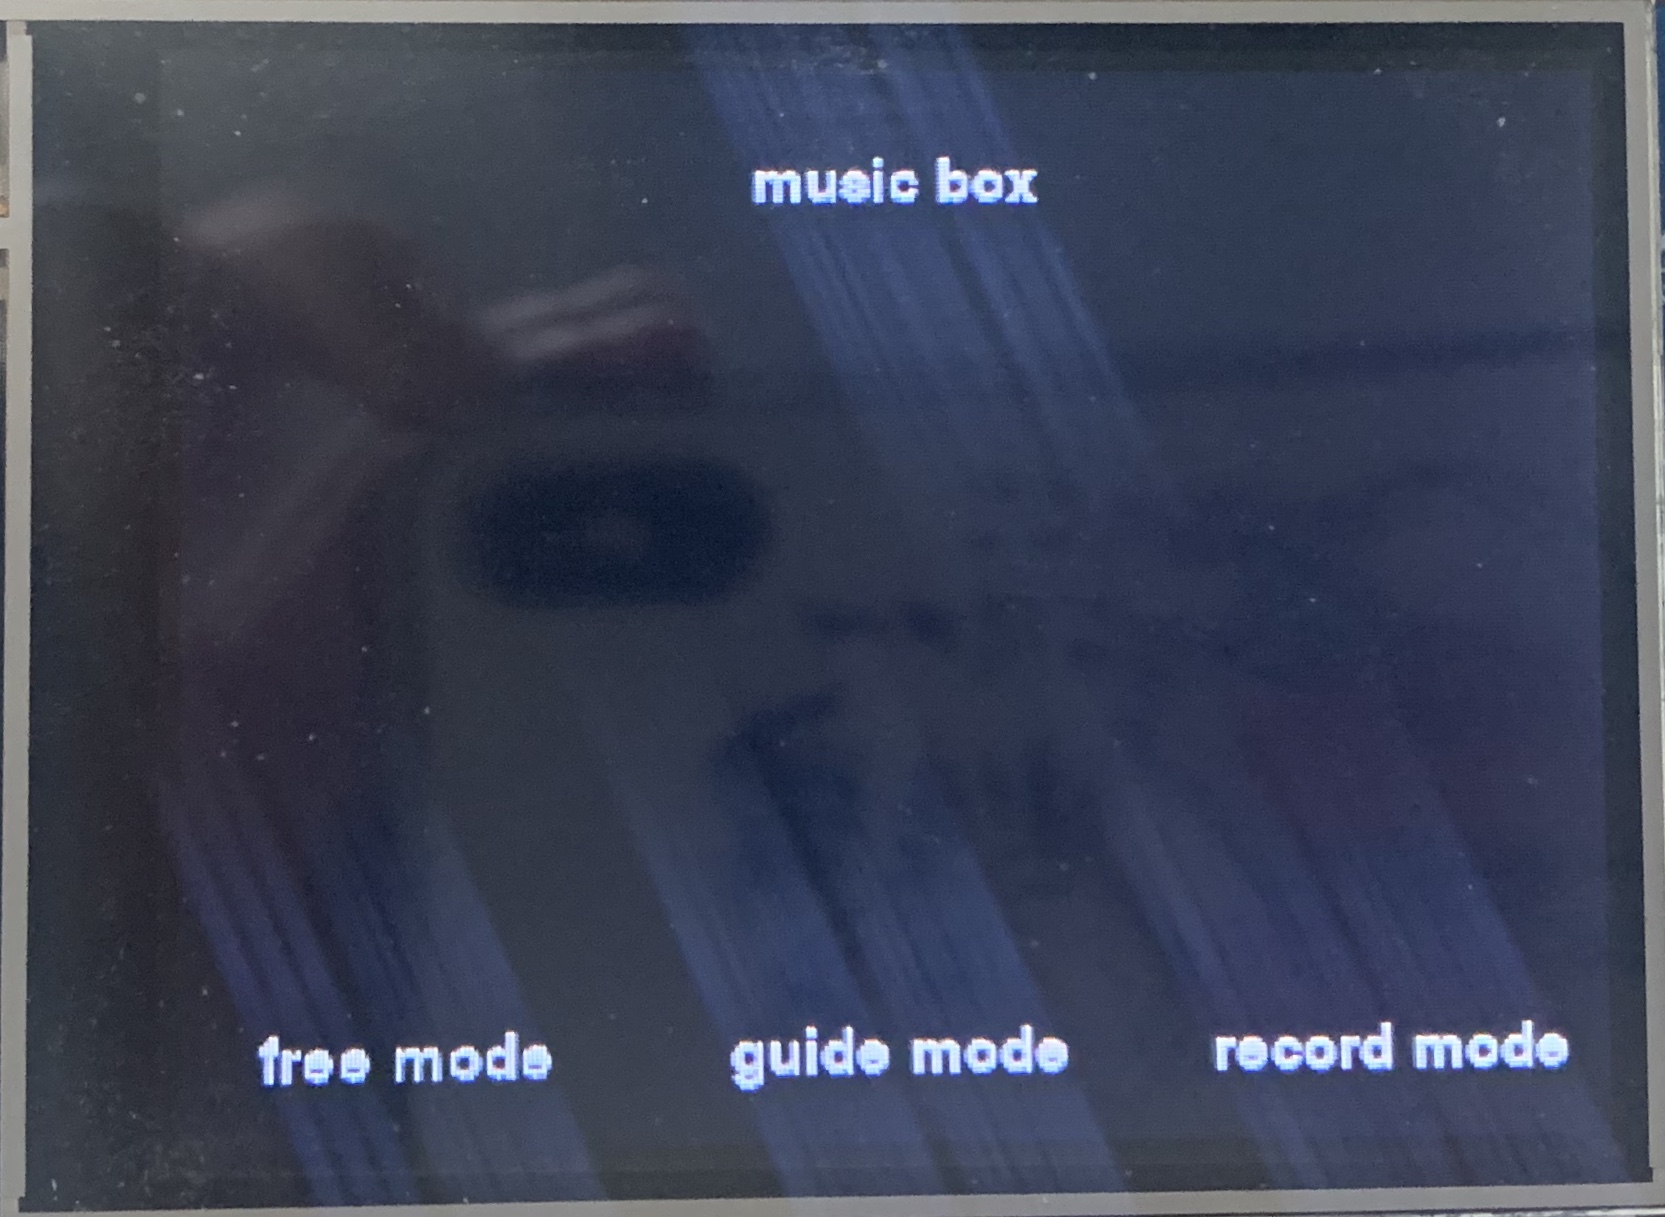
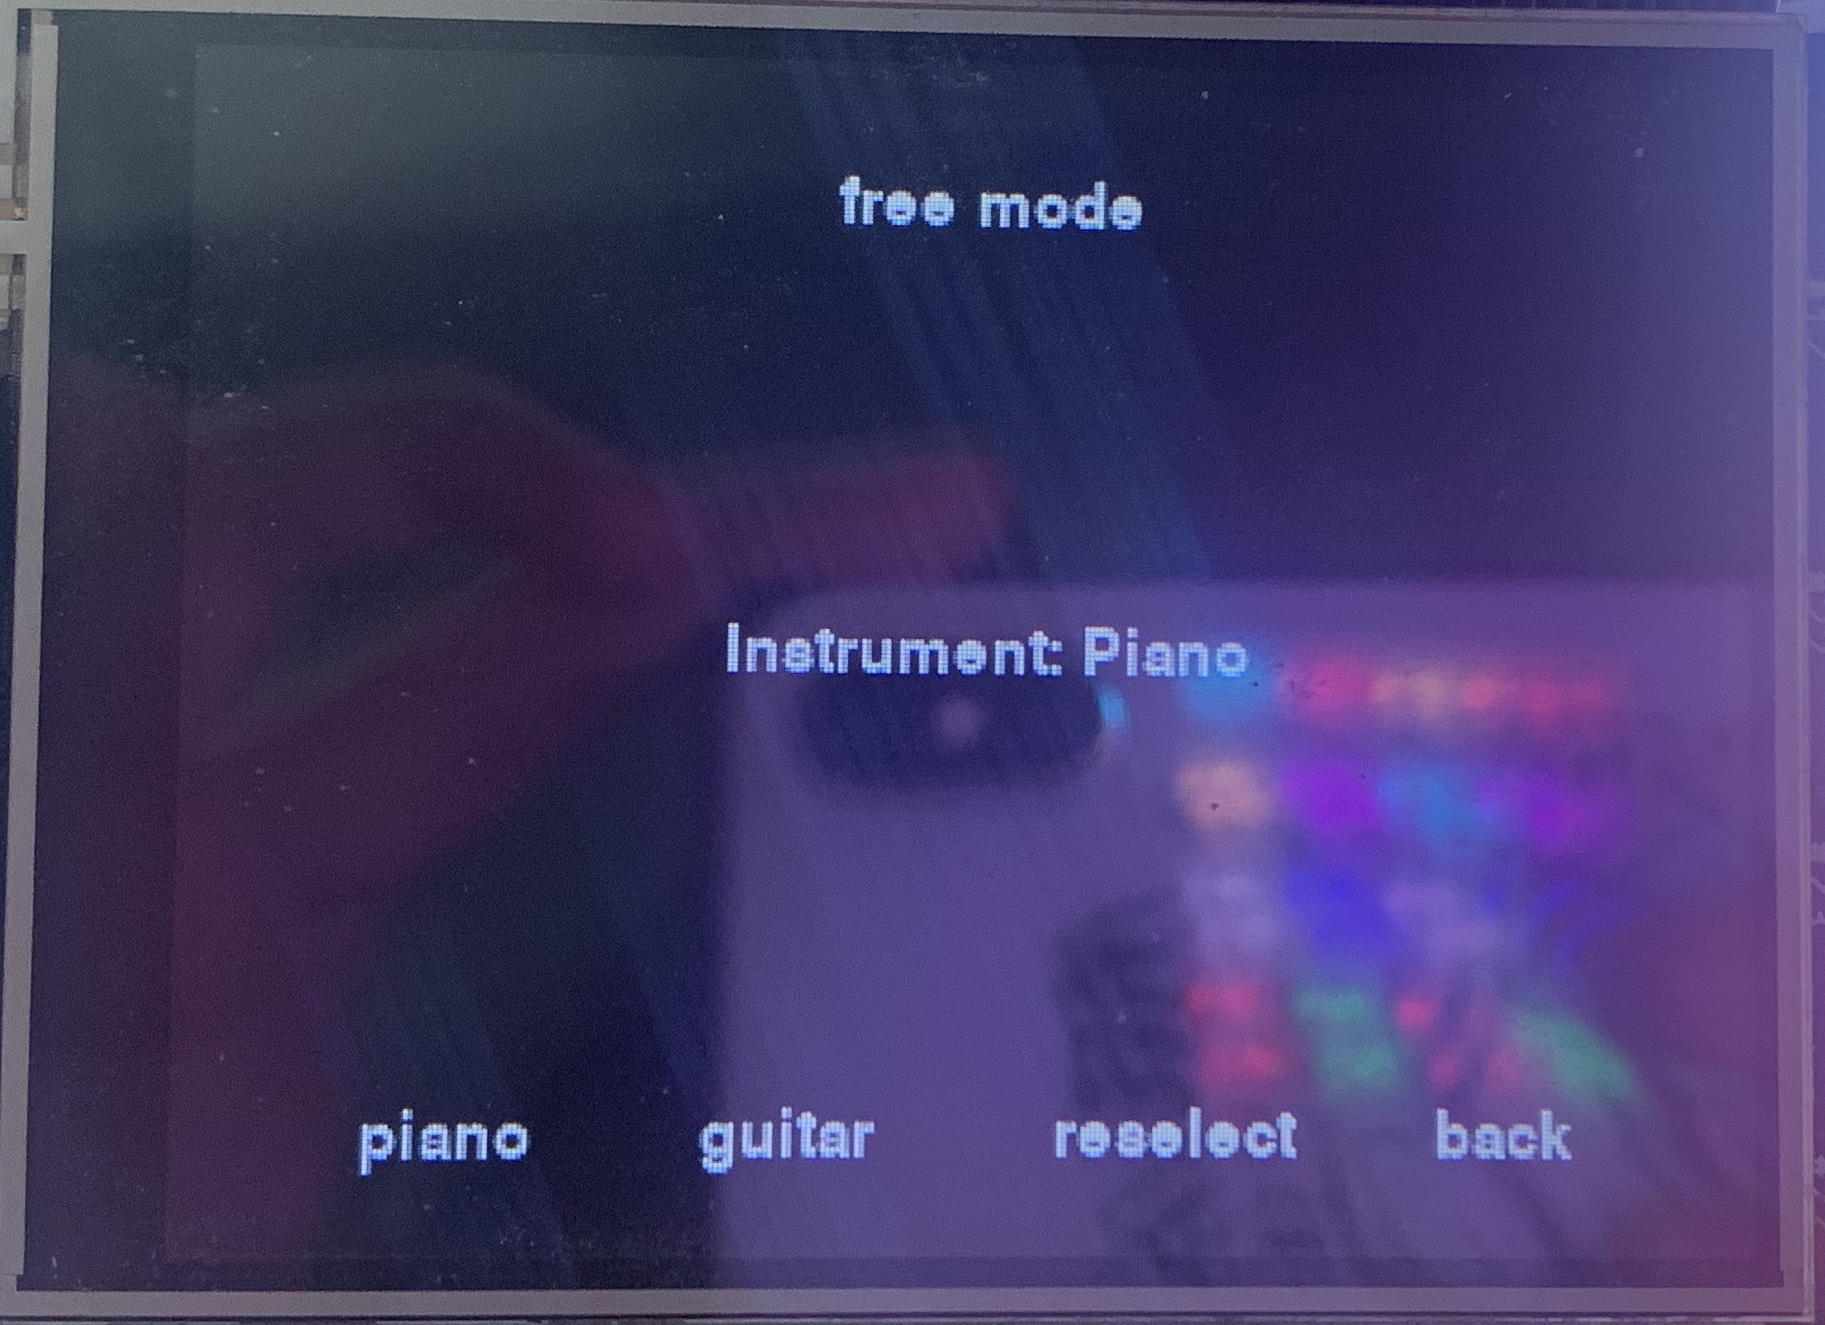
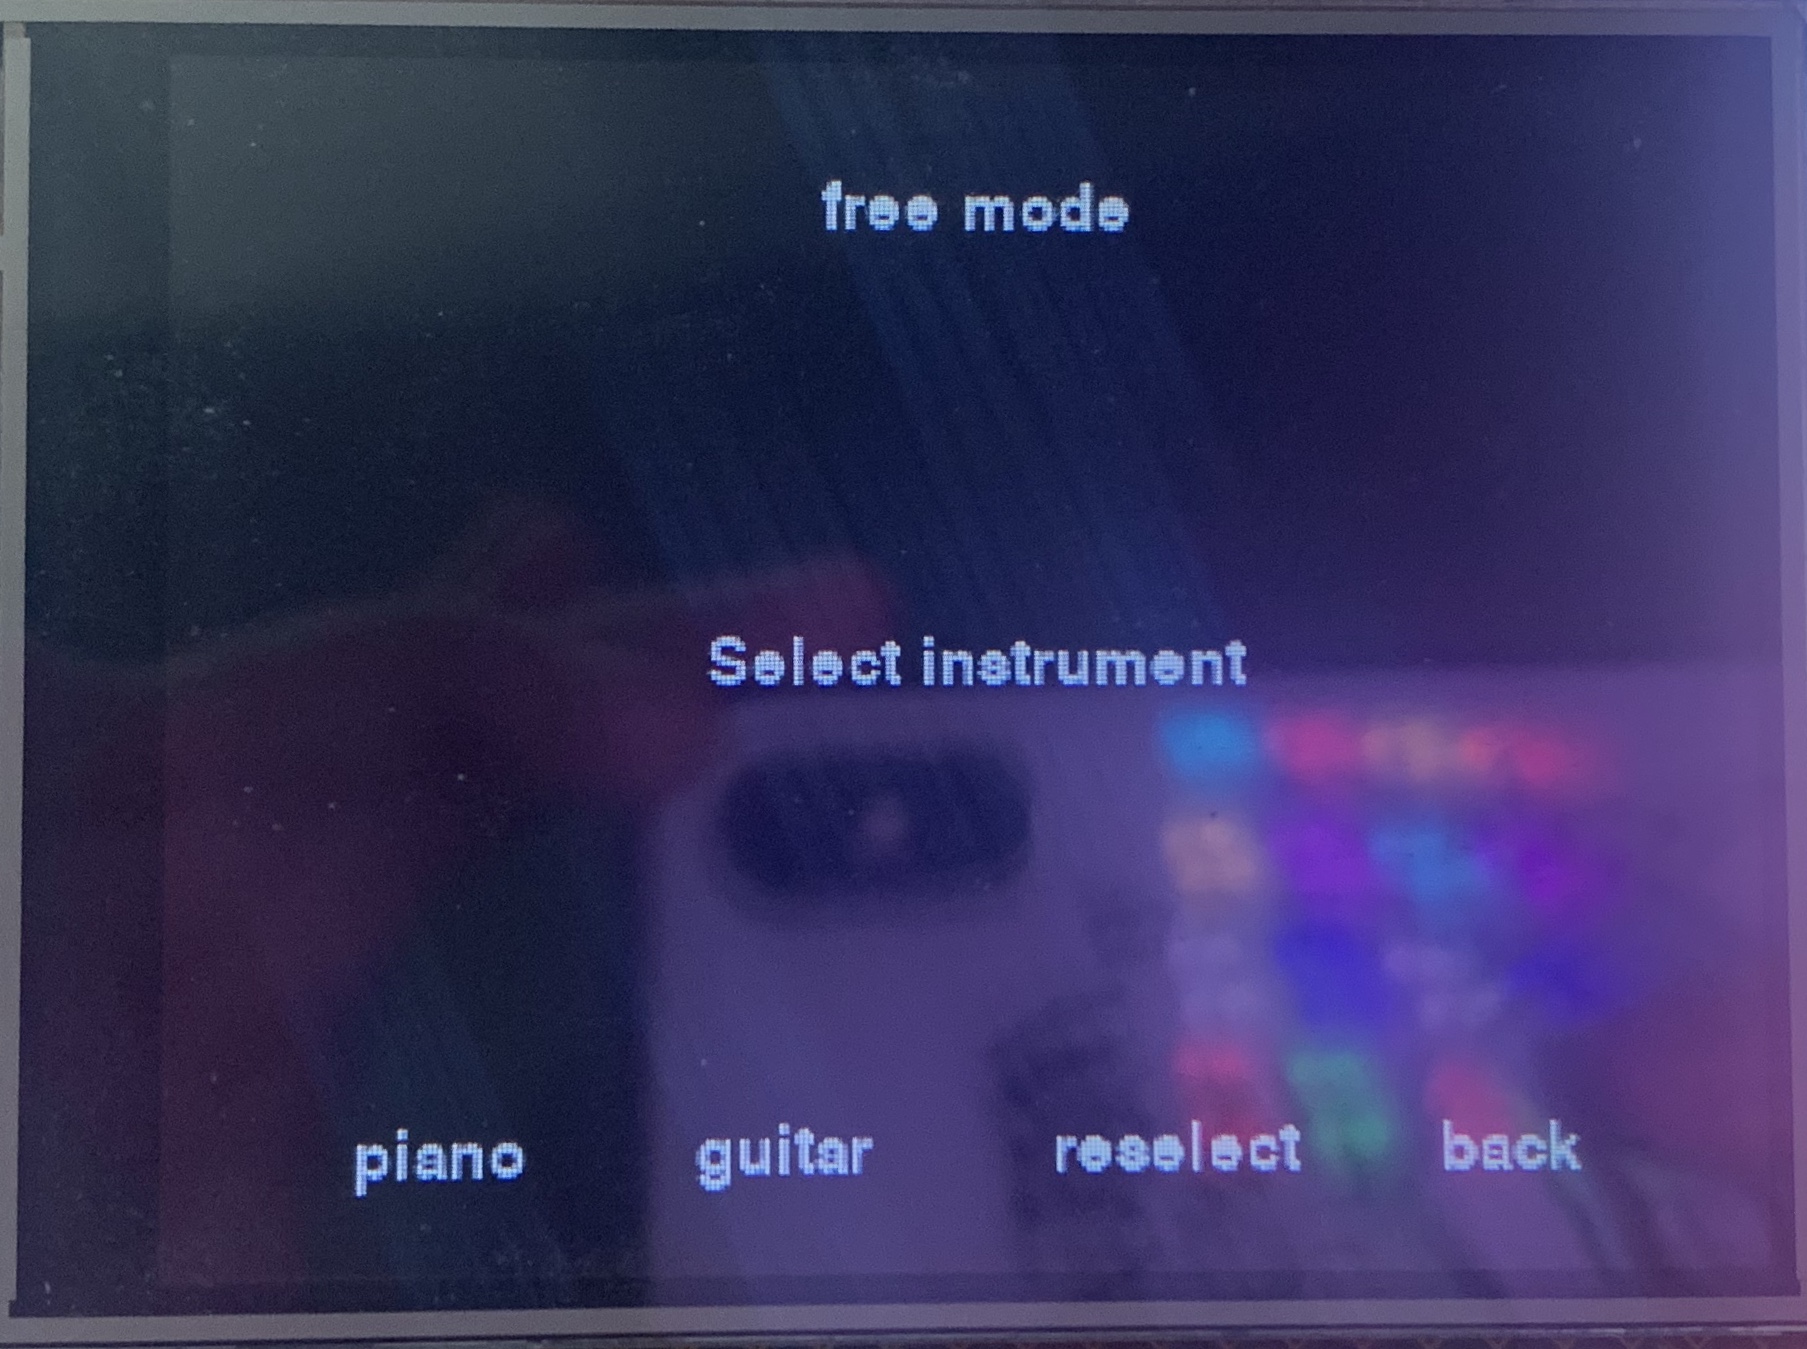
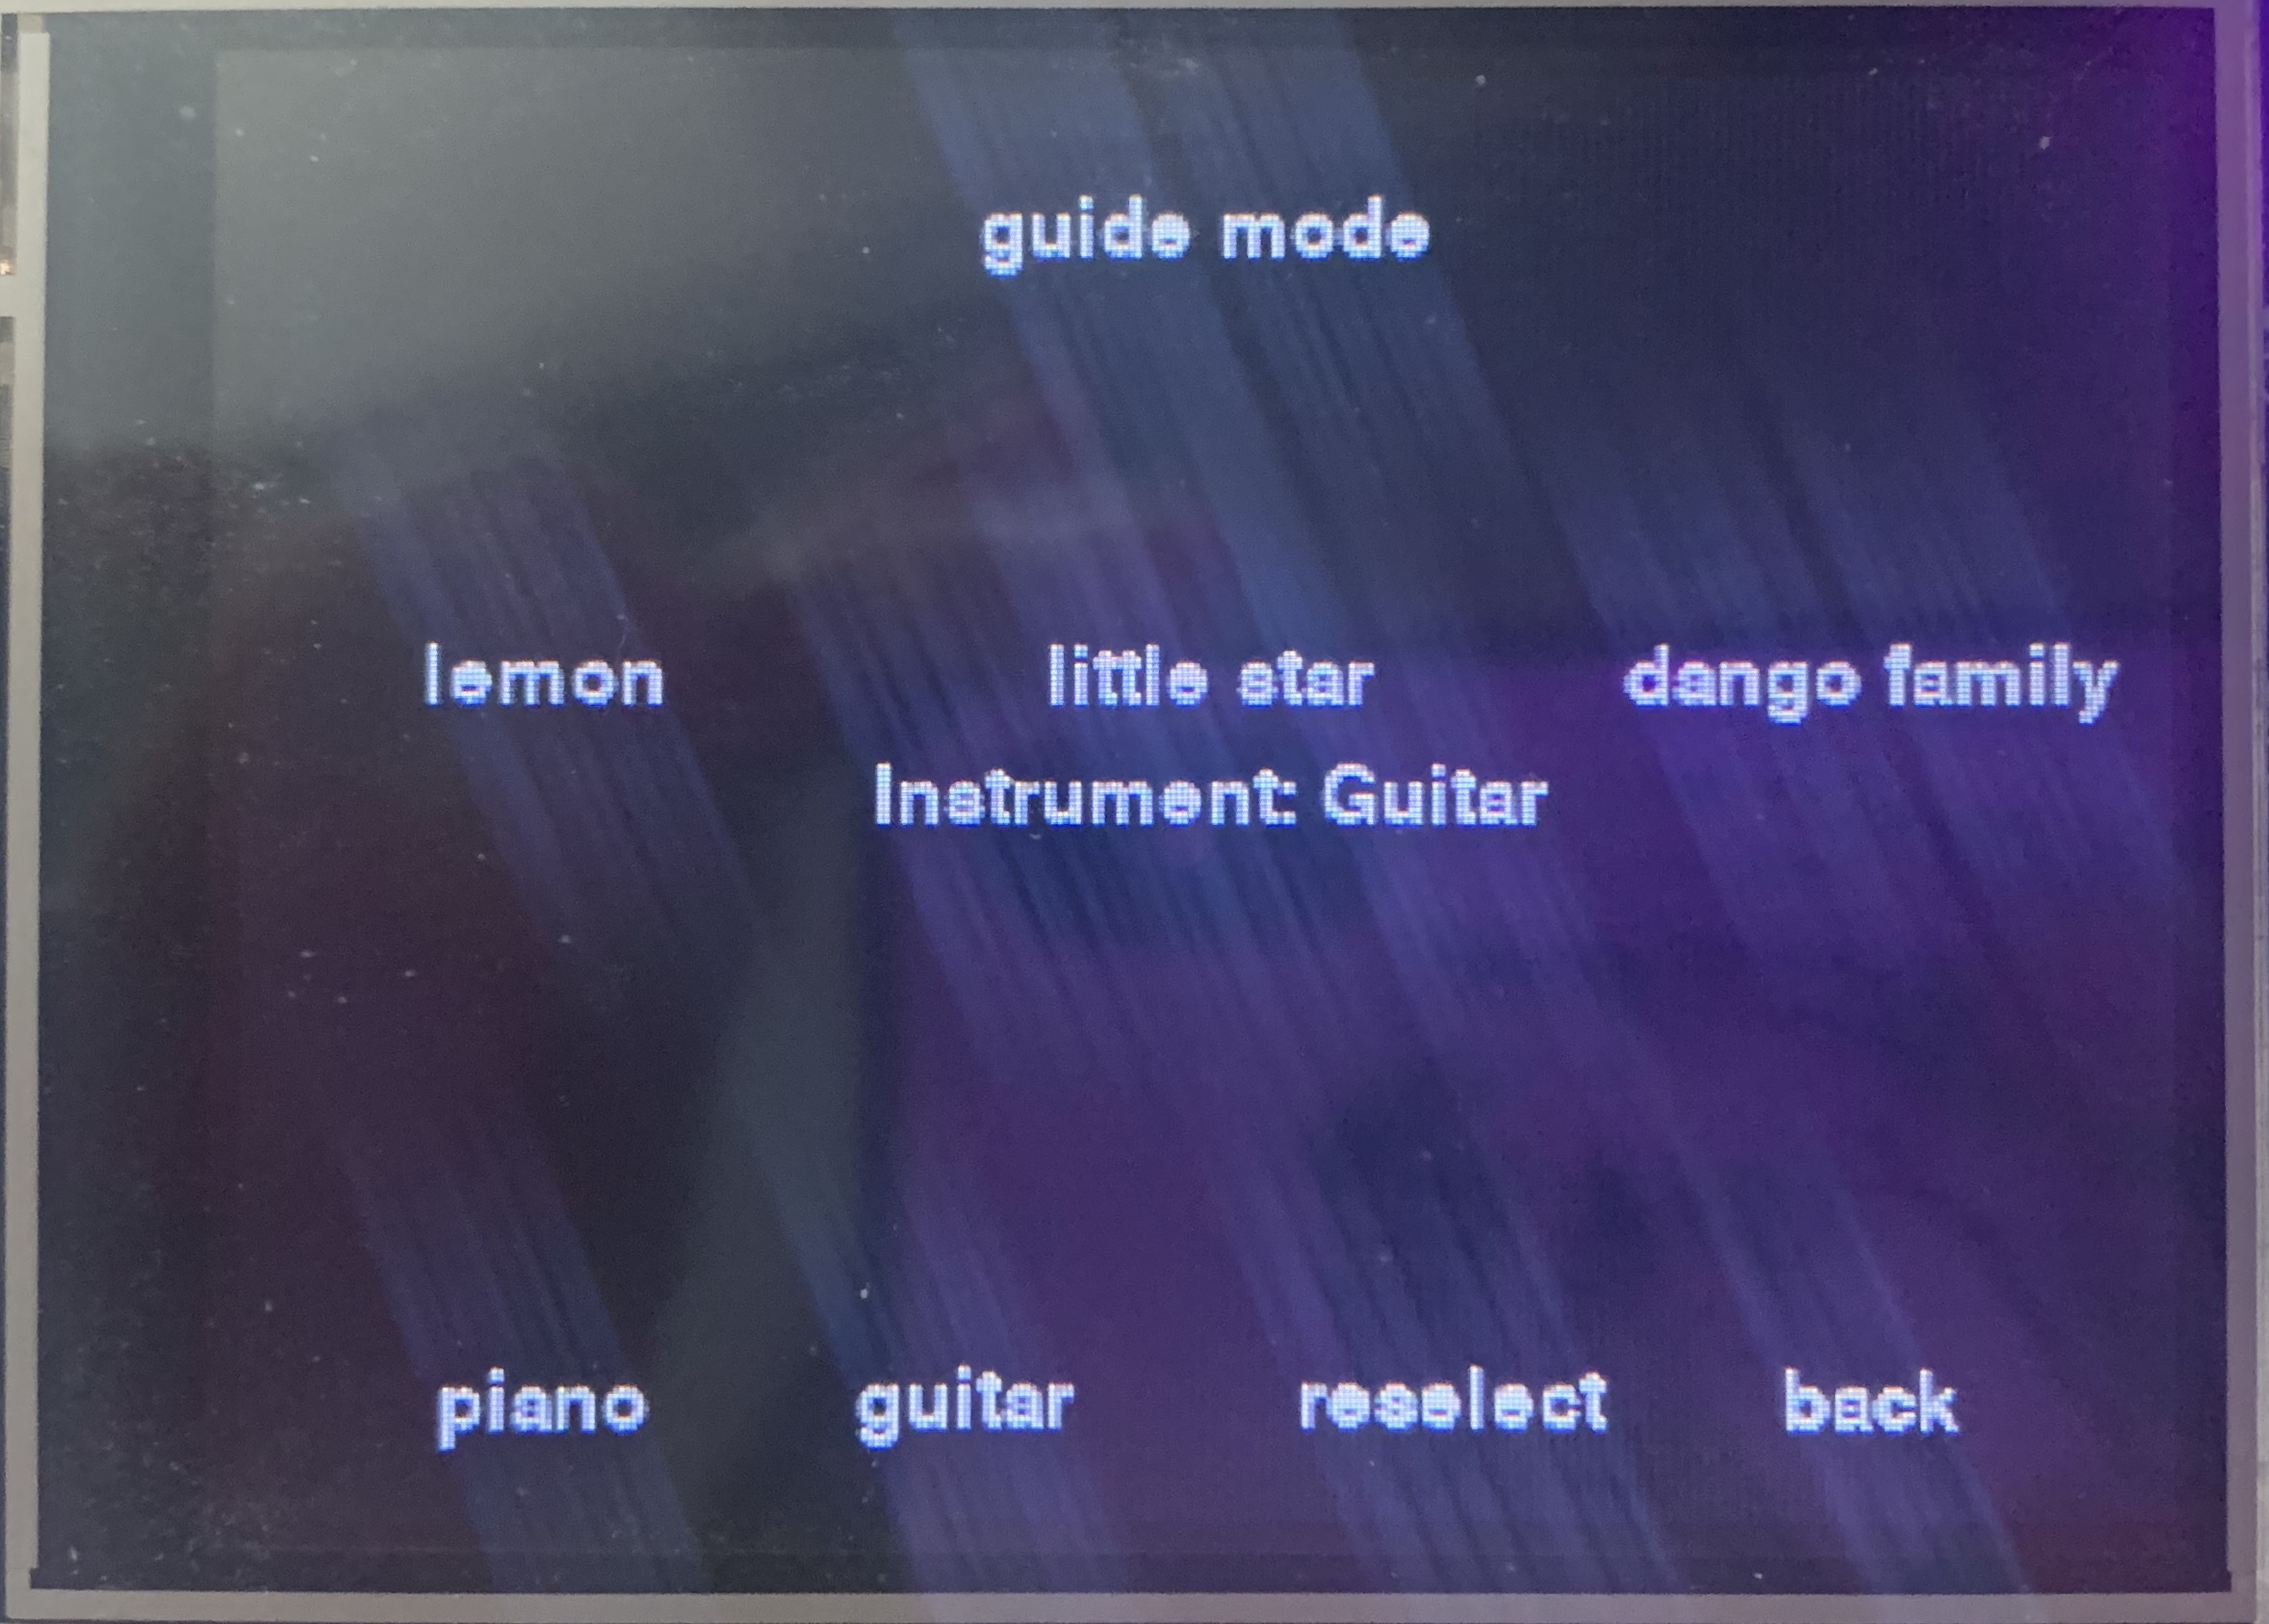
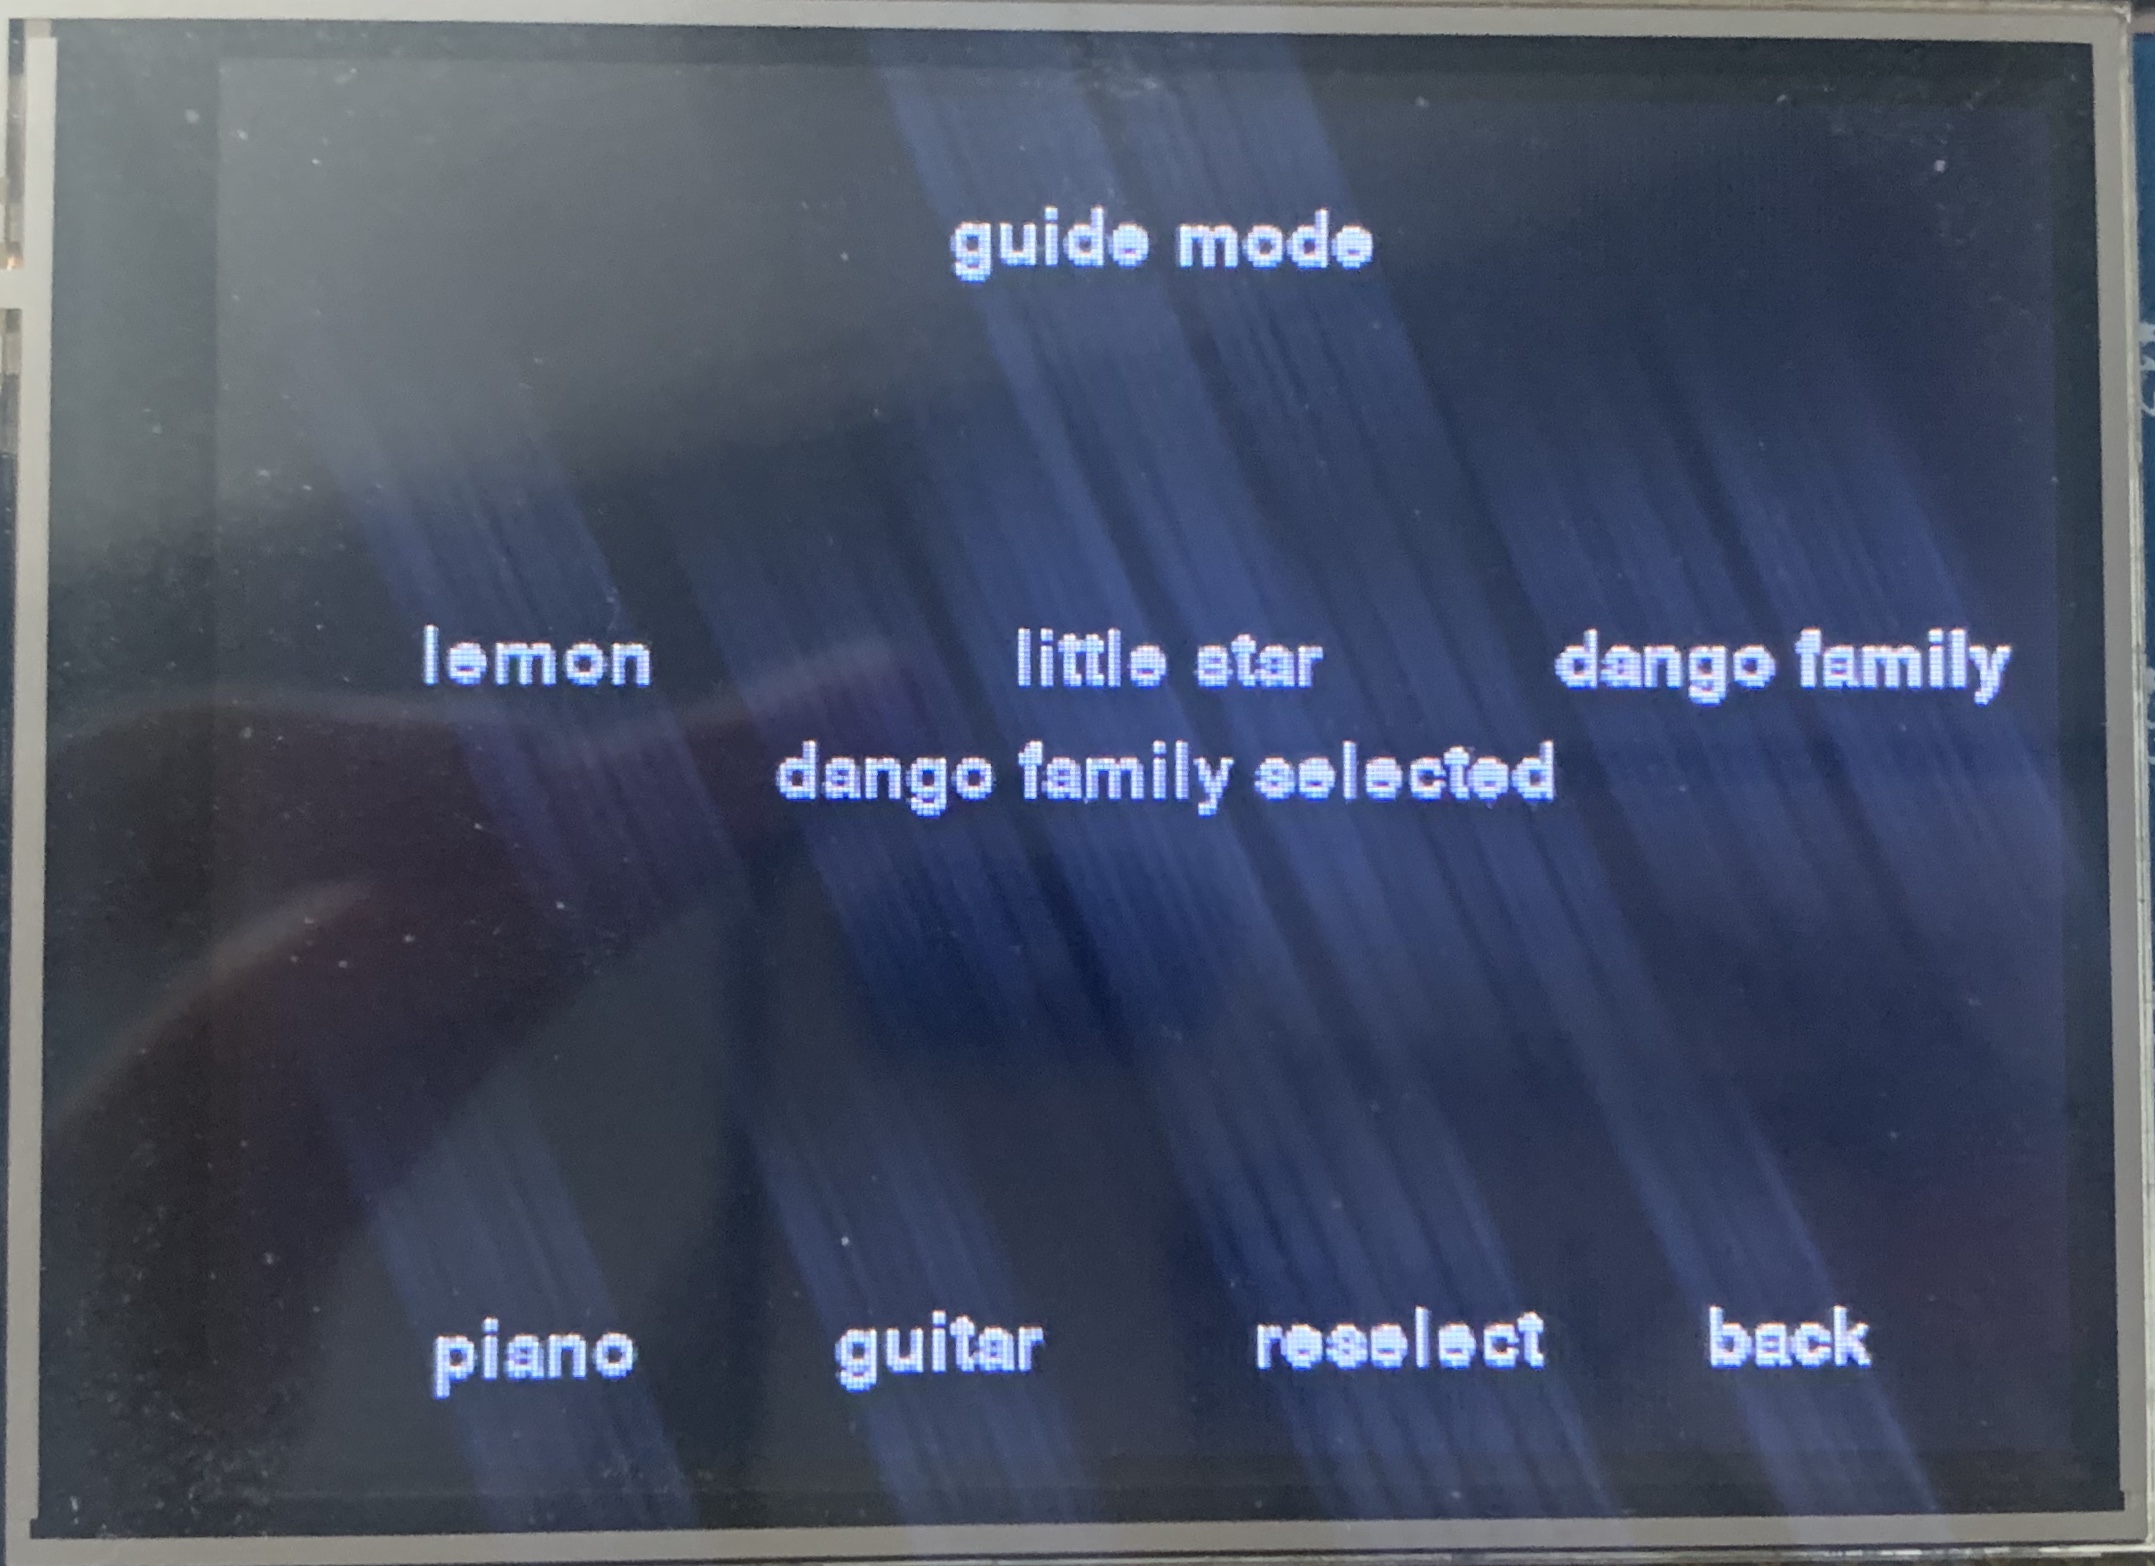
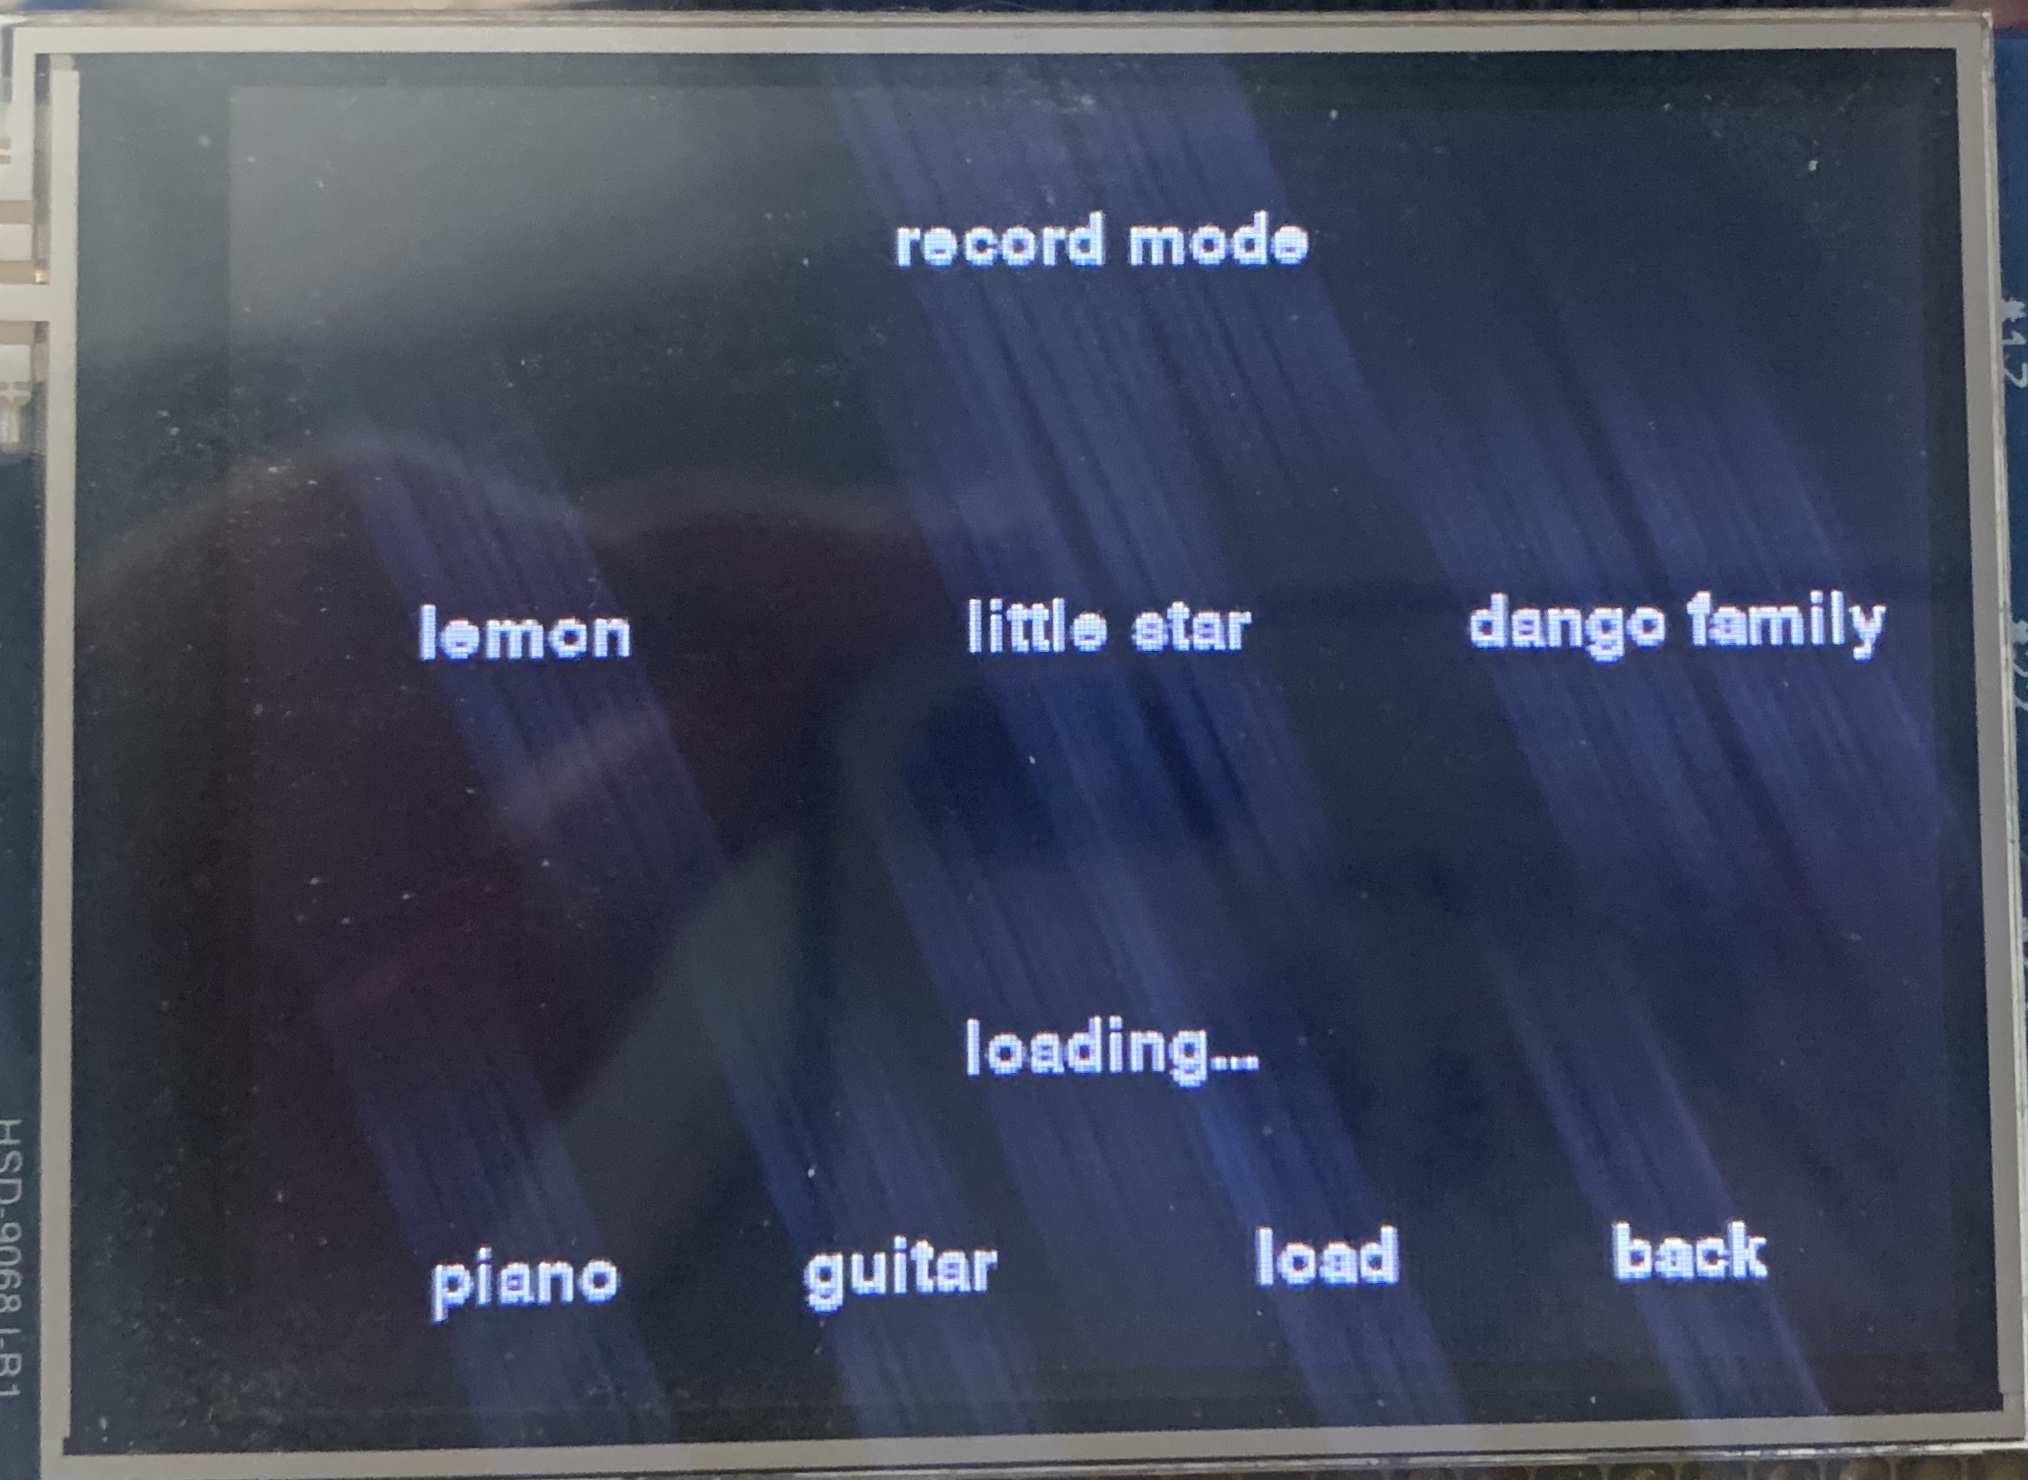
Figure.2 GUI design
Buttons detecting
As in Lab2, the detection of the button press on Neotrellis is also implemented using the callback function. When a falling edge is detected on the button, the callback function will be executed. In the callback function, the color of the button will be changed to white when a rising edge is detected and back to its original color when a falling edge is detected. In the meanwhile, the audio file is also played. The audio files for piano and guitar notes are stored in corresponding directories. All the files are named in the format of ‘xx-color-note.wav’, where ‘xx’ means two digits number from 00 to 15 which represent the position of the button to be loaded, ‘color’ means the color to be displayed on the button and the ‘note’ means the corresponding note name. For example, ‘05-cyan-a3.wav’ means that cyan color will be displayed on the button at the position of the second row and second column, and if the button is pressed, the sound of note A3 will be loaded and played. Based on this format, we can also extract the values from the file names. In order to play the audio file, we use the pygame module for loading and playing sounds. Figure 3 shows the list of guitar directory.
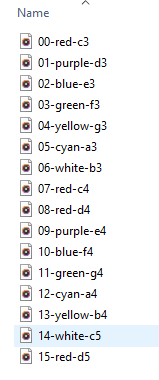
Figure 3. Guitar Directory
Free Mode
In the free-mode, users can play pre-set notes freely. We collected non-copyright instrumental sounds media files including notes of piano and guitar. The free mode lets users play any rhythm within the provided notes. The media files were downloaded from the website ‘freesound.org’. The notes include C4, D4, E4, F4, G4, C5, D5, E5, F5, G5, A5, B5, C6, D6, E6 for both piano notes and guitar notes. We compressed the downloaded .wav media files to .ogg files to decrease the file size to speed up file loading time.
Guide Mode
In the guide-mode, users can pick and load a song from melody lists and choose which instrument to play with. After choosing the instrument and song name, the music box will flash the LEDs to let the users know which button to press. The users can play the whole song following the LED tracking.
Record Mode
In the record-mode, users can still pick from the melody lists, load the melody, and play it just like in guide-mode. The music box will record the notes and duration for each notes that the user played and make playback of the notes user played.
Multi-threading
Media file format conversion/compression is time-consuming and
resource-consuming that those media files contain large amounts of information that need decoding and encoding.
The system can gain speed up by distributing transcoding work evenly to four threads compared to only using a single thread.
The raw recorded media file needs to be cut off to four equal-size shares in which music duration is the same.
Four sub-processes will be launched to process these four parts. In order to use the command line to control ffmpeg,
our format convertor/compressor, we use the following method:
bashCommand_0 = "ffmpeg -i out0.wav temp0.mp3"
output = subprocess.check_output(['bash','-c', bashCommand_0])
Each process handles one of four parts of format conversion/compression. We know that the Linux process scheduler
automatically finds free cores for these four resource-consuming processes, thus each of them will be distributed
to one of the four cores without sharing a core with other conversion processes (but it may be shortly interrupted
by our main program process and other system processes). Then you can see the four cores are fully utilized during
media file format conversion/compression.
Testing
When each mode was implemented, we tested the GUI on piTFT and how the program works.
After implementing the record mode, the GUI worked well on the Linux desktop,
however, when switching the screen to piTFT, it didn’t respond to our touch as expected.
Therefore, we ran the ‘screen_coordinates.py’ program from Lab2 to check the function of piTFT.
When running ‘screen_coordinates’ and testing, it turned out that the piTFT displayed was incorrect.
After consulting with professor, we found that the wheezy downgrade down in Lab2 wasn’t set up correctly.
Since we downloaded new libraries such as pydub, the problem was located to the command sudo apt-get upgrade.
This command wiped out the wheezy downgrade setup done in Lab2. In order to make the touch screen work correctly,
we ran the command sudo apt-get update and sudo apt-get -y --allow-downgrades install libsdl1.2debian/wheezy to fix the problem.
Conclusion
This is a successful project as all functions we proposed were completed and fully-functional by the end. The final product is a music instrumental box with three playing modes, two kinds of instrumental sound including piano and guitar, a touch-screen based GUI. We deployed what we learned from ECE5725 lectures and labs to our music instrumental box, besides we did lots of research on Linux itself and third party software packages. From this project, we got familiar with multi-tasking Linux operating system, and realized many potential application scenarios of cheap portable Linux embedded system.
Future Work
More competition elements can be added to our music game. We can implement a scoring system to reflect the correctness rate the player does playing in guide-mode. As having the melody notes list and notes duration list, we know the exact time when a key needs to be pressed for how long. In record-mode, we can collect the player’s reactions and store them to similar lists as the melody notes list and notes duration list do. Then we can compare the differences between user interactions and the standard music data. Besides, there’ll be some tolerance mechanism since the hardware has delays and a man can’t play perfectly as a machine can do. So action will be determined success if the user presses a correct key for 80% of its matched duration. Then the total score of a song will be 100 * (number of successful notes) / (total notes).
Work Distribution

Siqi Qian
sq85@cornell.edu
Neotrellis assembly and Installation
Pygame Interface design and modifying
Sound processing and modifying in Free Mode
Media file editing and exporting in Record Mode
Music sample songs writing and Music notes searching

Ke Liu
kl928@cornell.edu
Neotrellis setup and modules installation
Guide Mode design and modifying
Multi-thread supported media file conversion
Parts List
- Raspberry Pi - Provided by lab
- JBL portable speaker - Provided by Siqi Qian
- Resistors and Wires - Provided by Ke Liu
- Adafruit NeoTrellis RGB Driver PCB for 4x4 Keypad - $12.50
- Silicone Elastomer 4x4 Button Keypad - for 3mm LEDs - $4.95